Scripts
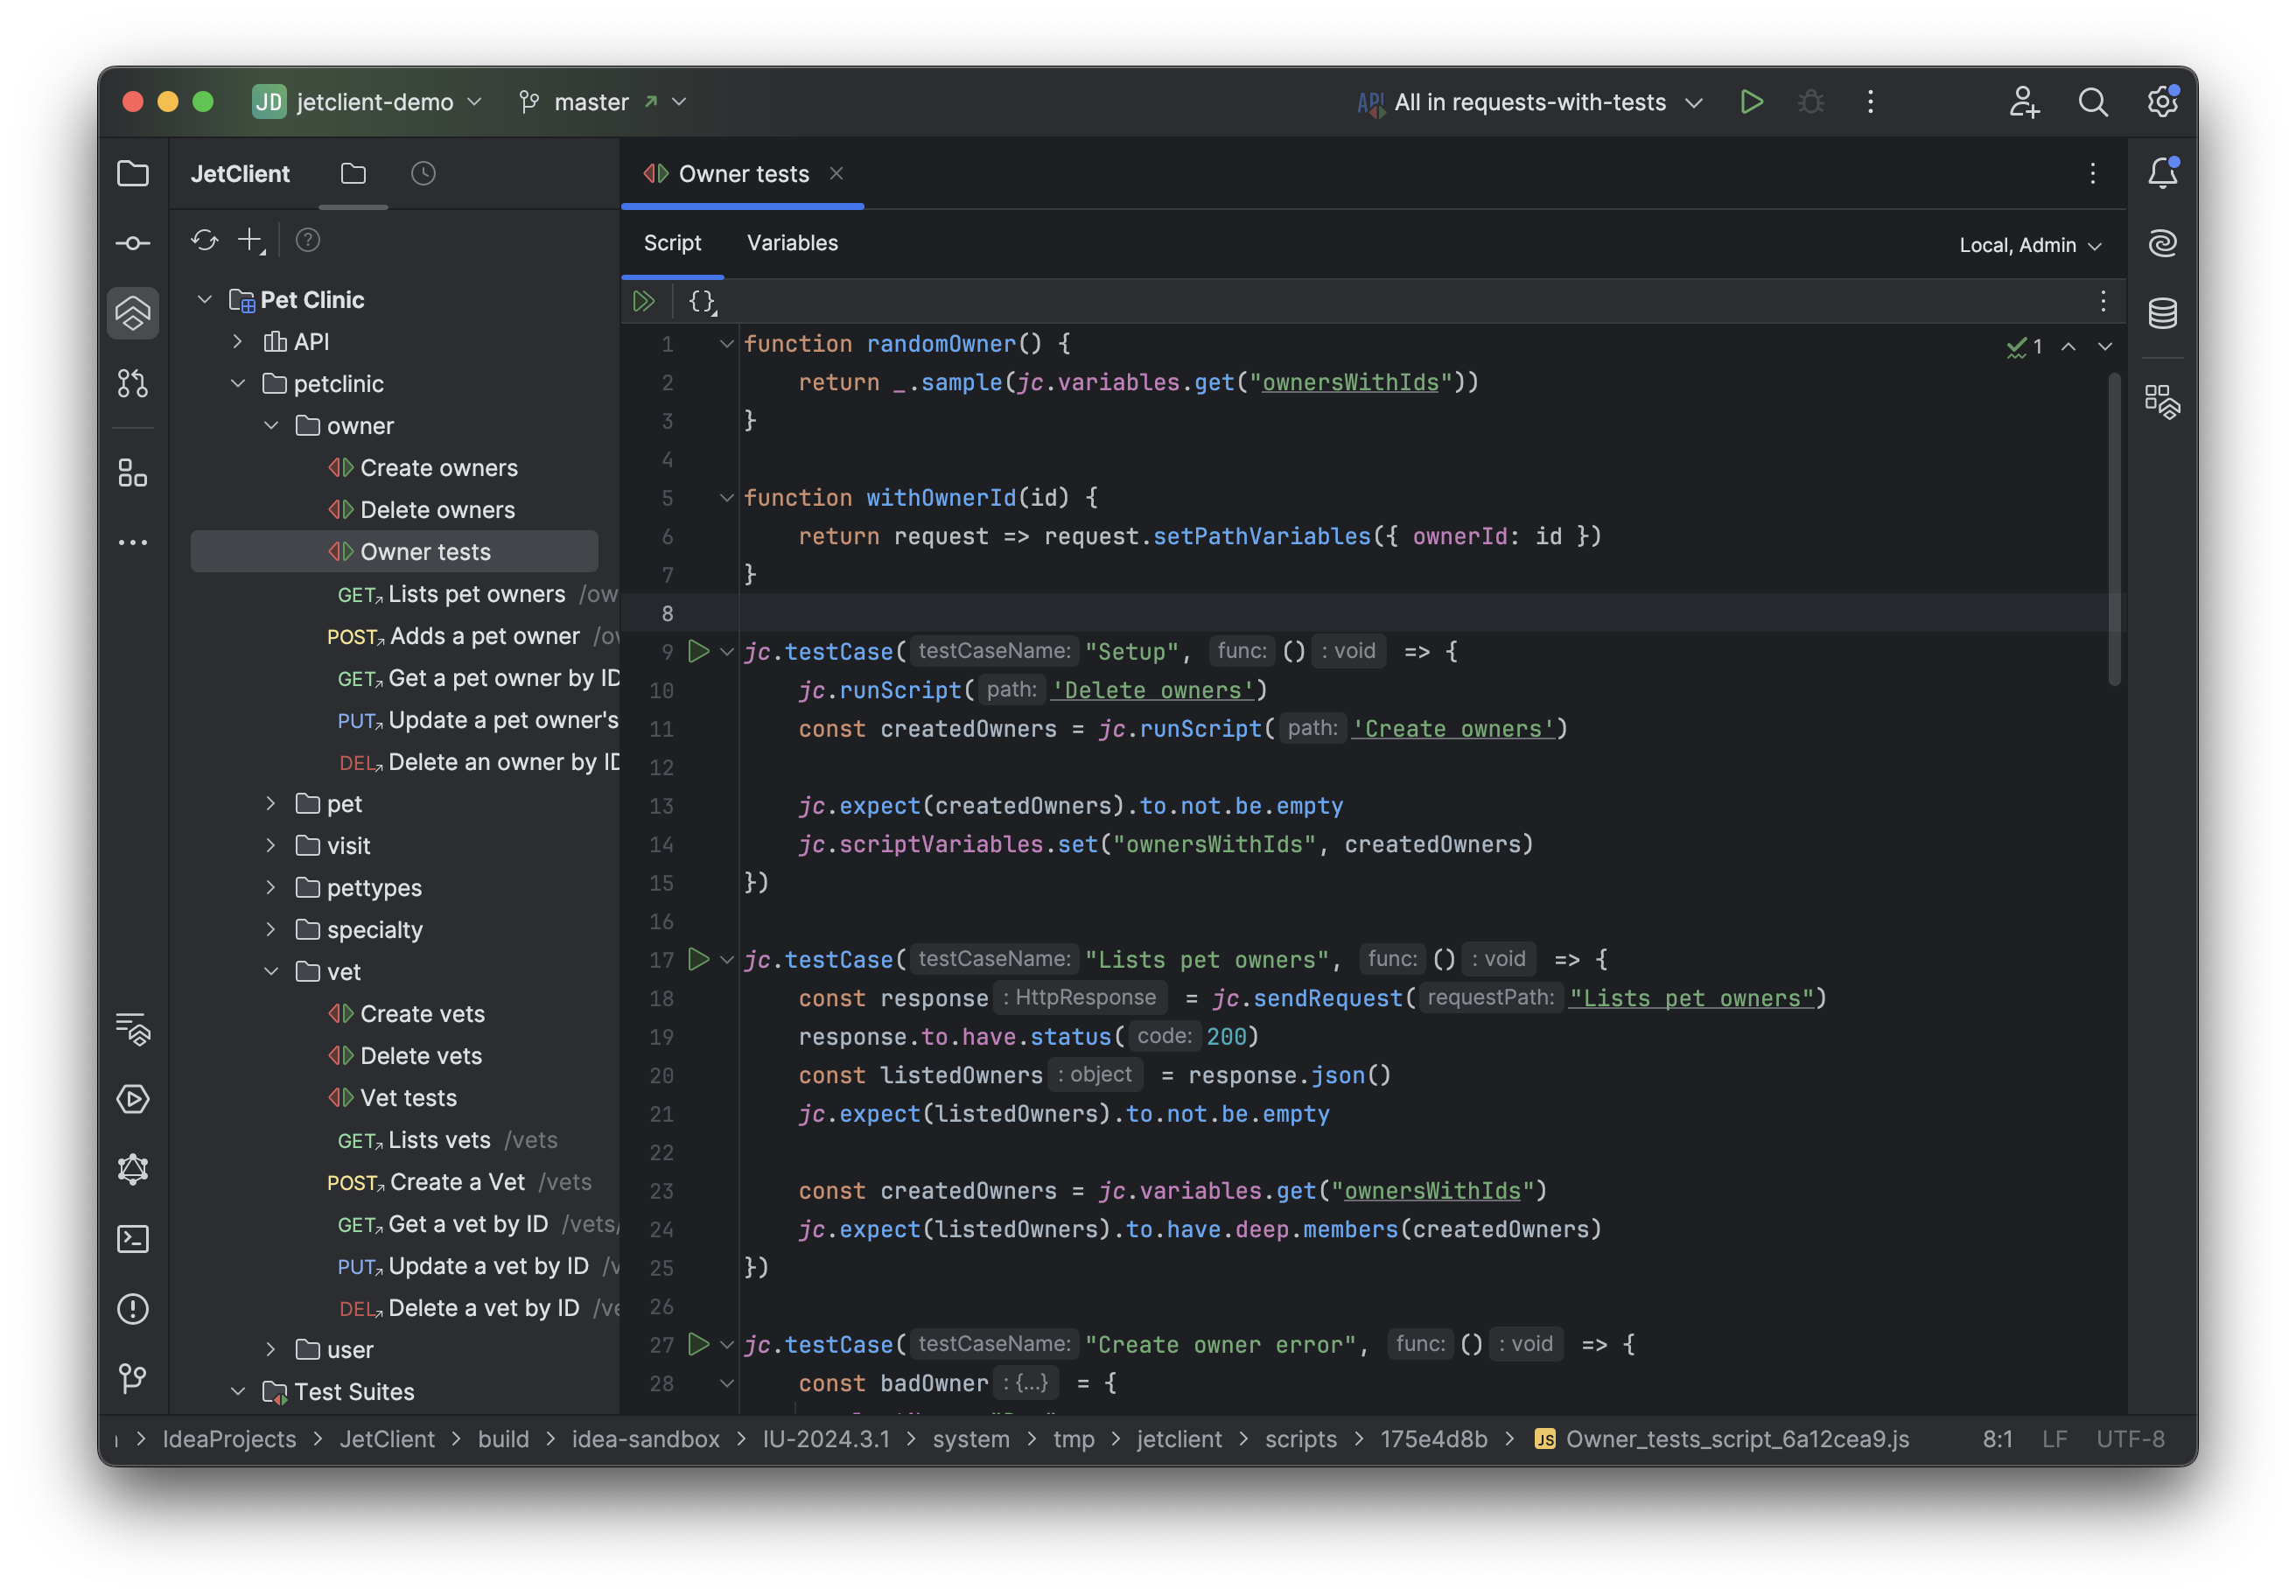
In addition to pre-request and post-response scripts in requests and folders, JetClient provides a standalone entity called Script for writing test scenarios, sharing reusable logic, and creating workflows.
Scripts consist of two tabs:
- Script: Write JavaScript code to define tests, call requests, run other Scripts, and much more. See Scripting for details on supported scripting features.
- Variables: Define Variables scoped specifically to this Script.
At the top-right corner of the Script editor, you’ll find the active environment dropdown, allowing you to select the environment to use when running the Script.
Creating a Script
To create a Script:
- Select a folder in the Collection Tree.
- Open the context menu and choose New | Script.
- Enter the following details:
- Name: Provide a name for your Script.
- Description: Optionally include a description to provide context in the tree view.
- Synchronization: Check this option to enable synchronization with sync files.
The Script will be created under the selected parent folder, and its editor will open automatically.
Running a Script
JetClient provides the following options for executing a Script:
-
Run a Script Using Test Runner:
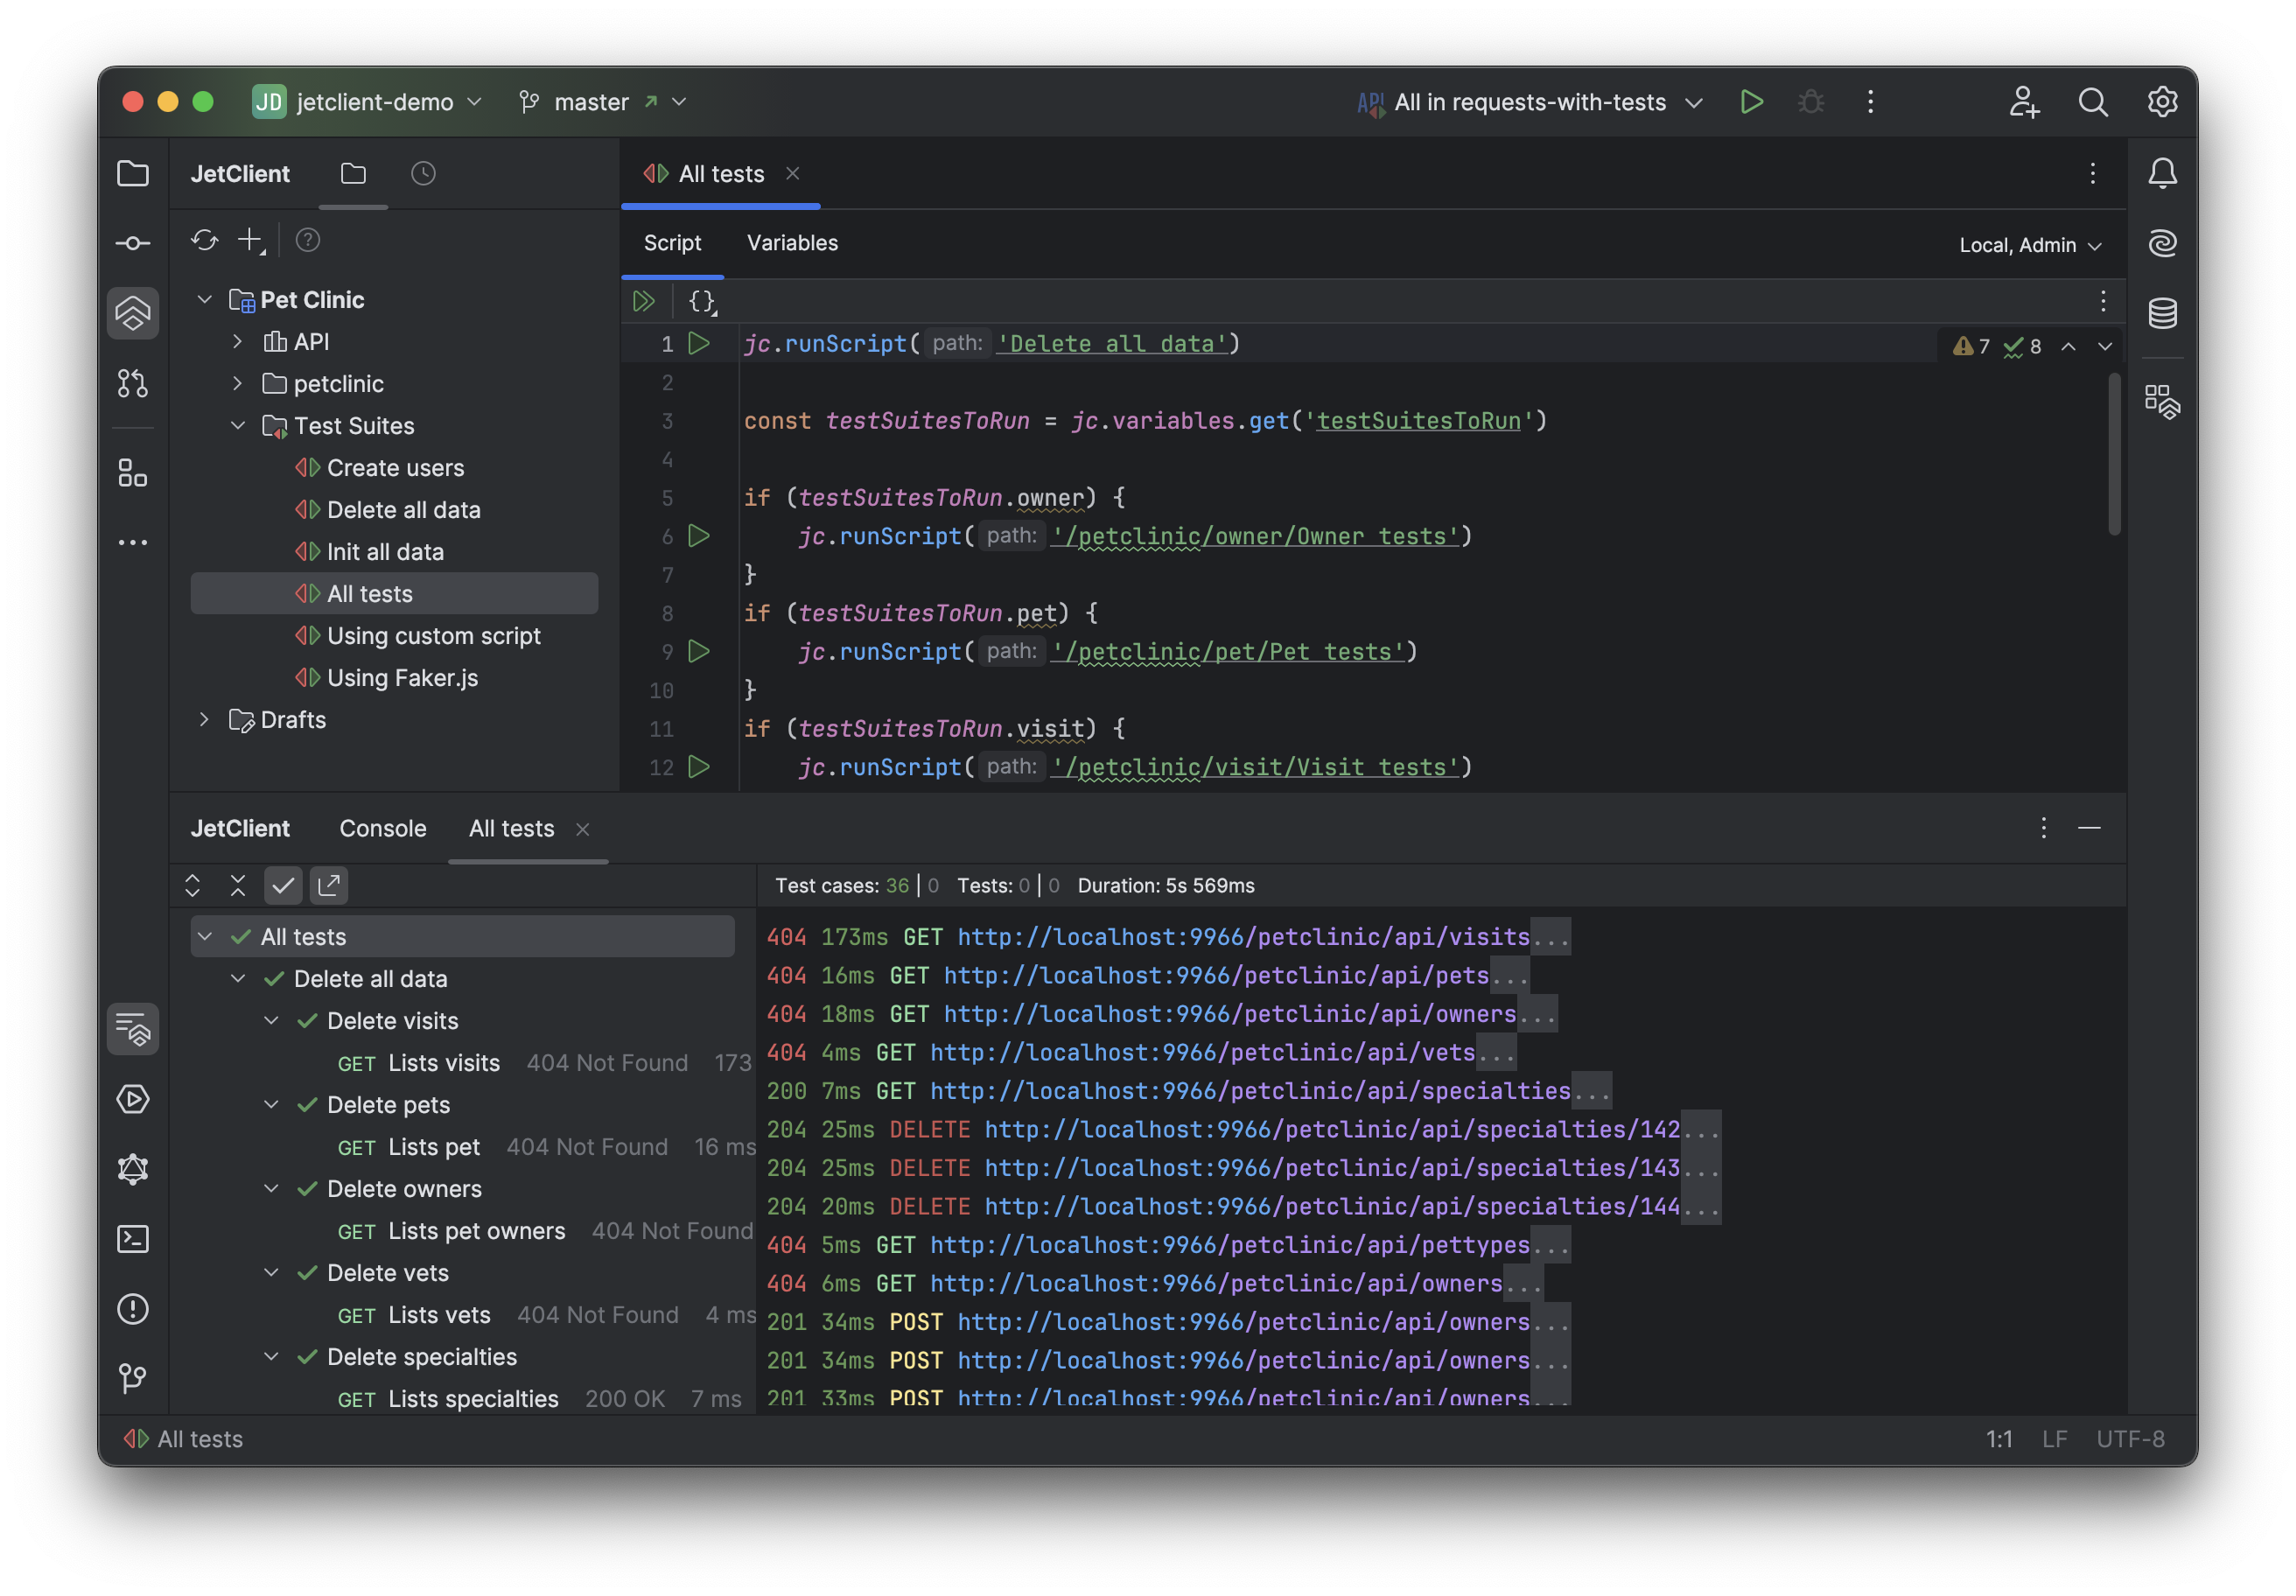
Use the Test Runner to execute a Script on its own or as part of a sequence alongside requests and other Scripts. -
Run the Entire Script:
Click the Run Script button on the toolbar at the top of the Script editor, or pressAlt + Shift + Cmd + Enter. -
Run Specific Requests or Test Cases Inside a Script:
Within the Script editor, you can execute individual requests or test cases. When using functions likejc.runRequest,jc.sendRequest, orjc.testCase, a run button will appear in the editor gutter next to the respective call. Click it to execute that specific request or test case.
The results of the Script execution are displayed in the Console tool window, where you can view logs, errors, and test results.

